The Message Scheduler is now even simpler.
Set up your message once and apply it to all your property listings.
Here’s a step-by-step guide to get your Message Scheduler up and running:
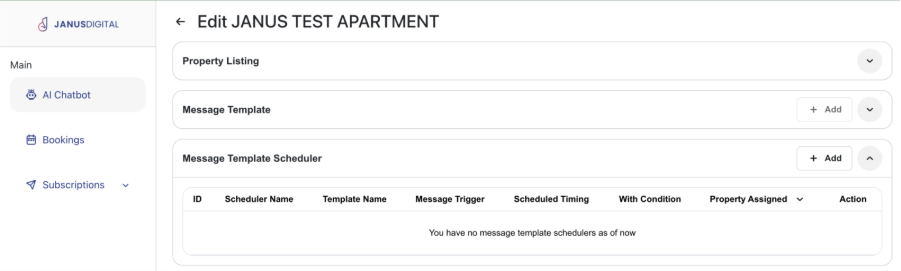
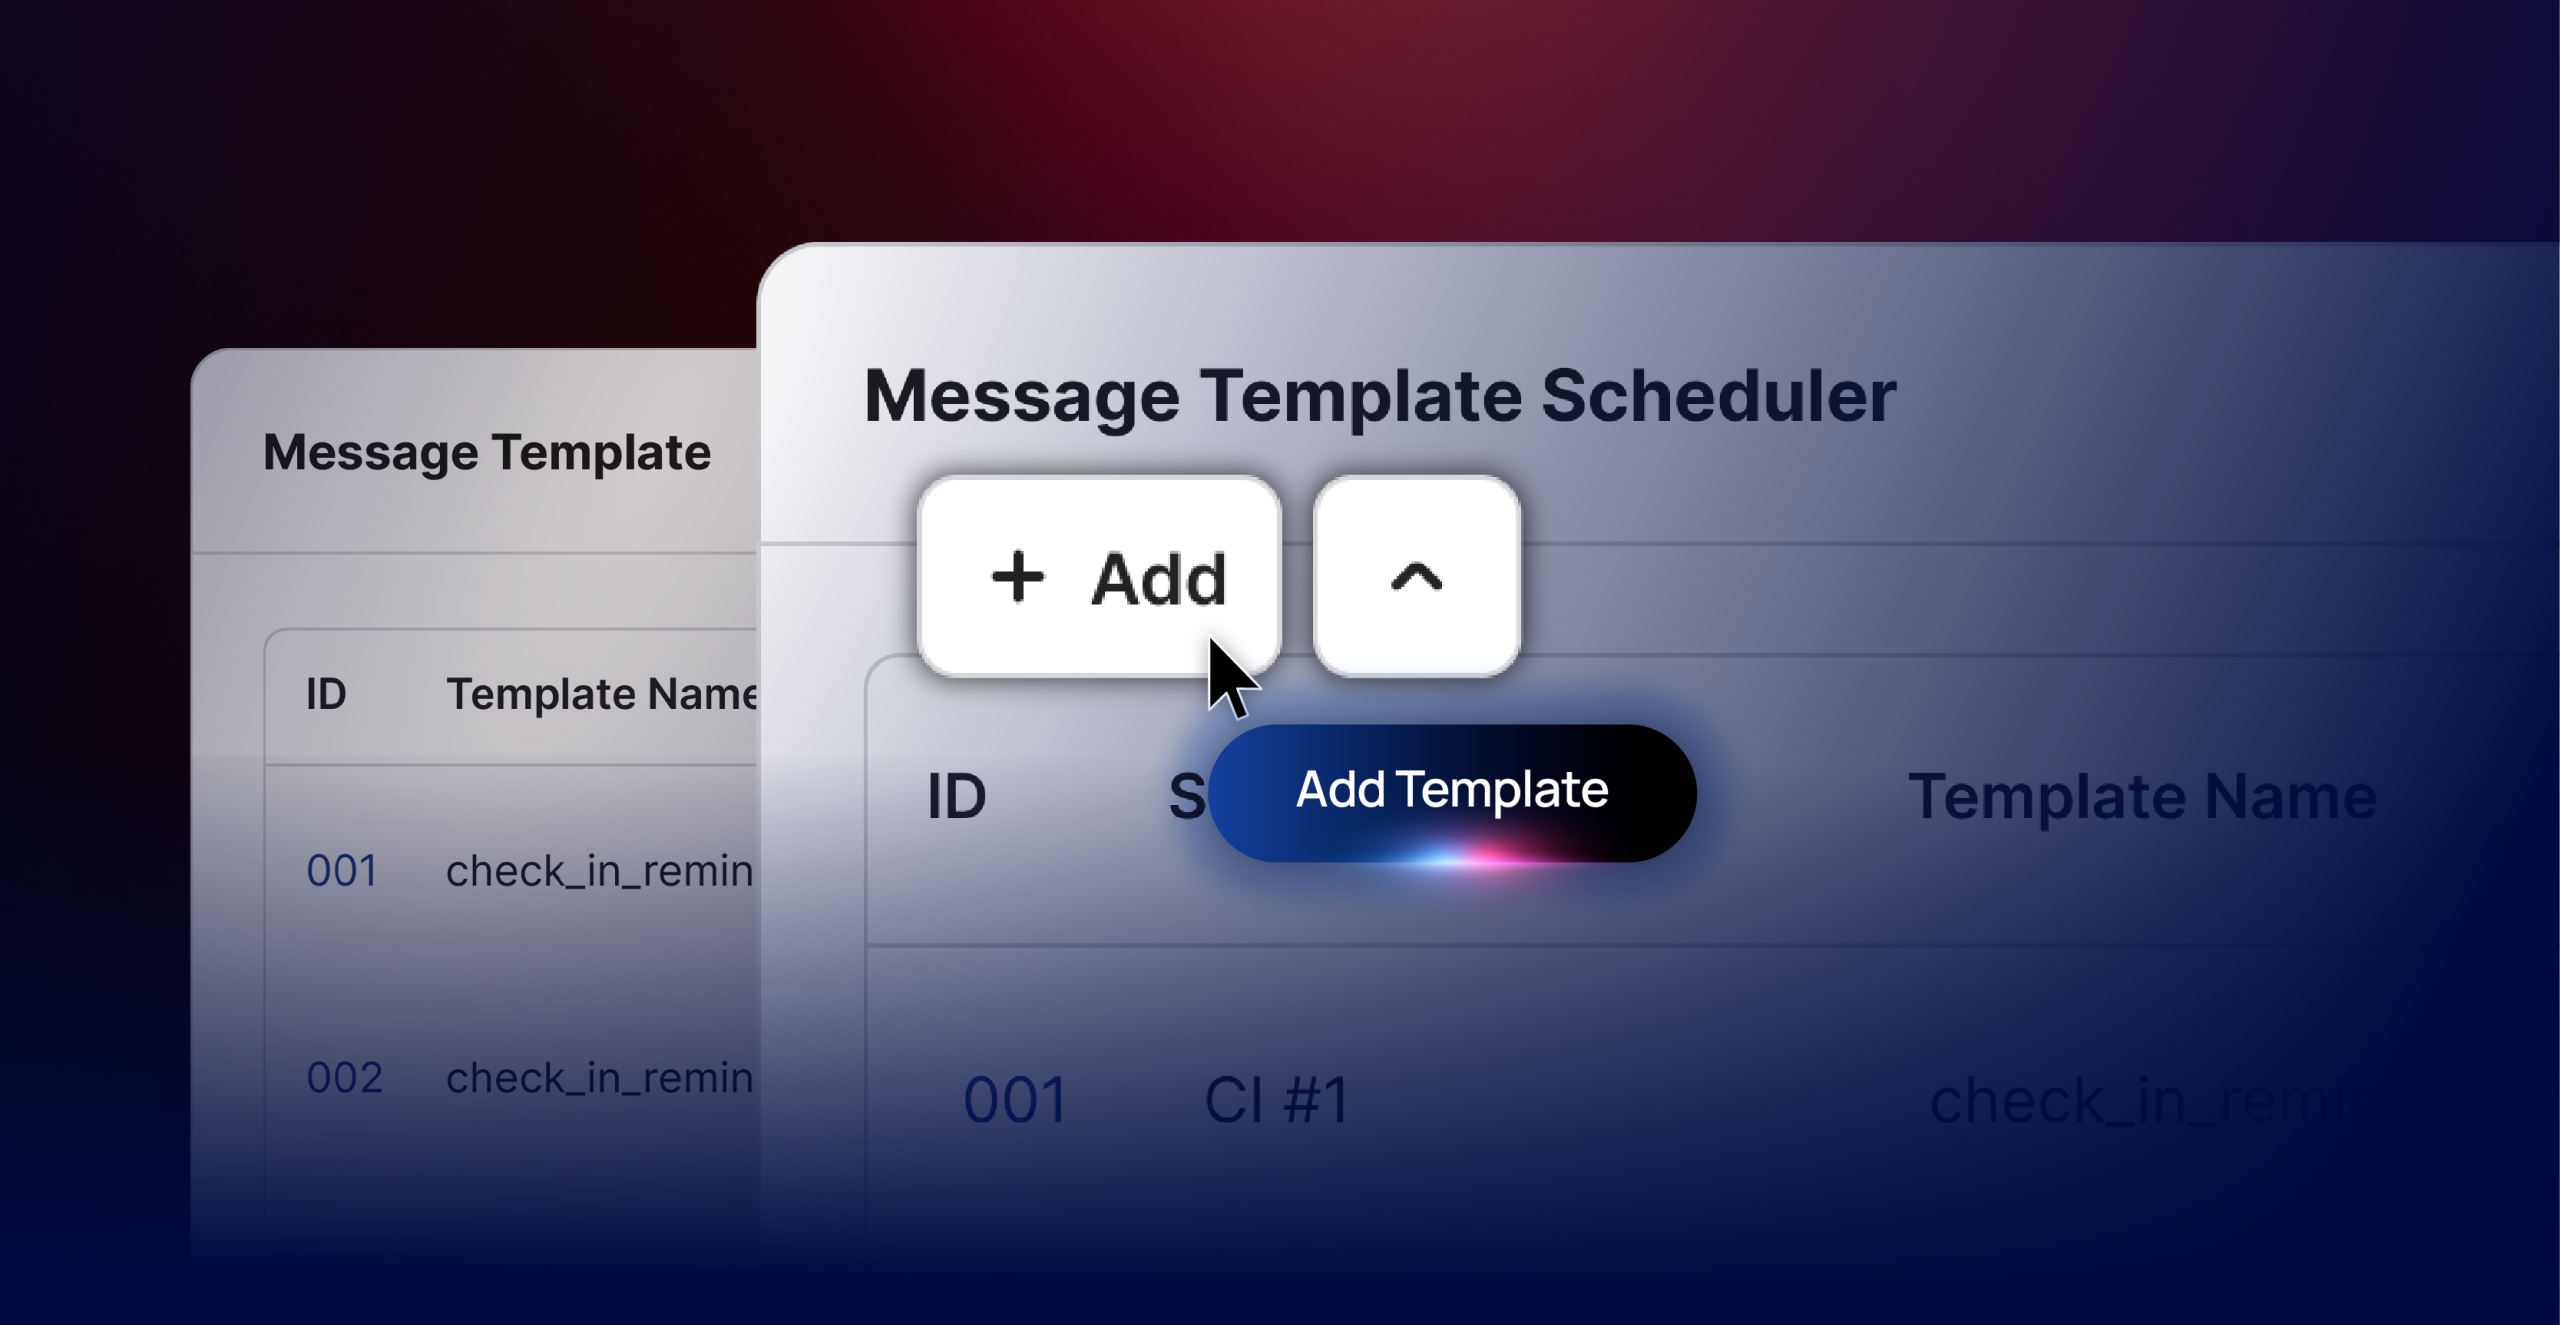
✅ Click “Message Template Scheduler” then click “+Add”

Scheduler Name
Enter a unique name for your scheduler for easy reference.
Which Template Do You Want to Schedule?
Select the Message Template you created earlier.
Read more: Message Template
When Do You Want to Send It?
Choose the trigger for sending your message.
Examples: When a booking is received, 1 day before check-in, etc.
Scheduled Timing (24-Hour Format)
Set the exact time you want the message to be sent. Use the 24-hour format (e.g., 14:00 for 2 PM).
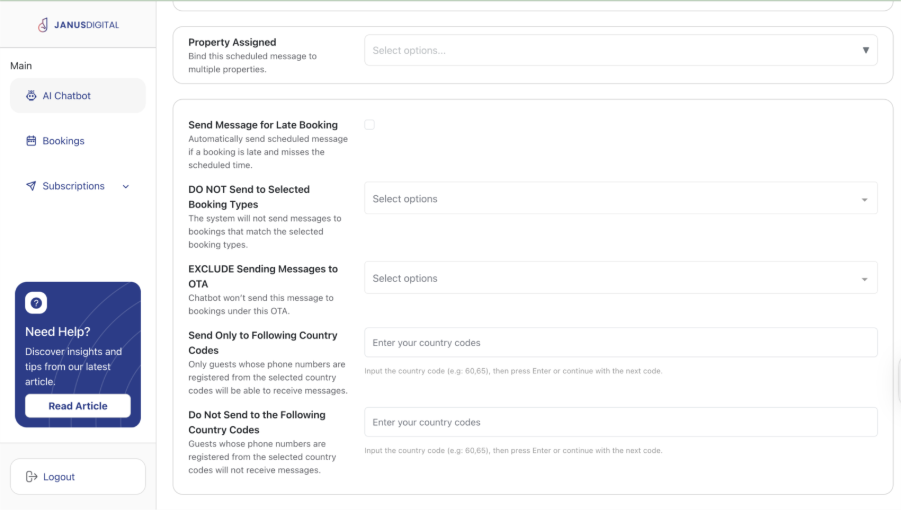
Property Assigned
Select the properties where you want this scheduler applied. The same settings will be used across all selected properties.
Send Message for Late Booking
Enable this to automatically send messages if a booking is late or misses the scheduled time.
DO NOT Send to Selected Booking Types
The system will skip sending messages to bookings that match the booking types you select here.
EXCLUDE Sending Messages to OTA
The chatbot will not send this message to bookings coming from the selected OTA(s).
Send Only to Following Country Codes
Only guests with phone numbers registered under the selected country codes will receive the message.
Do Not Send to the Following Country Codes
Guests with phone numbers registered under the selected country codes will not receive the message.
✅ Click “Submit” after all is set and ready to go